Initial Setup
When my Raspberry Pi 4 model B 8gb version appeared at my house, I felt like a kid on Christmas morning. I had ordered a kit, so it came with everything I needed for it to work, like a power cable, SD card with PiOS installed on it, a small enclosure (for obvious reasons), heatsinks for the processor chips, and a little fan to keep the unit cool. At the time of the board’s arrival, I did not have a drive to attach to my future home file server, so while I waited for a new drive to come, I played around with PiOS apps, and this is when I started getting familiar with the Python programming language. I knew I needed to reinstall the OS because for it to be a server, I needed a “headless” installation of PiOS. Before I reinstalled the OS, I just played around with it in its factory form with the preinstalled apps it has.
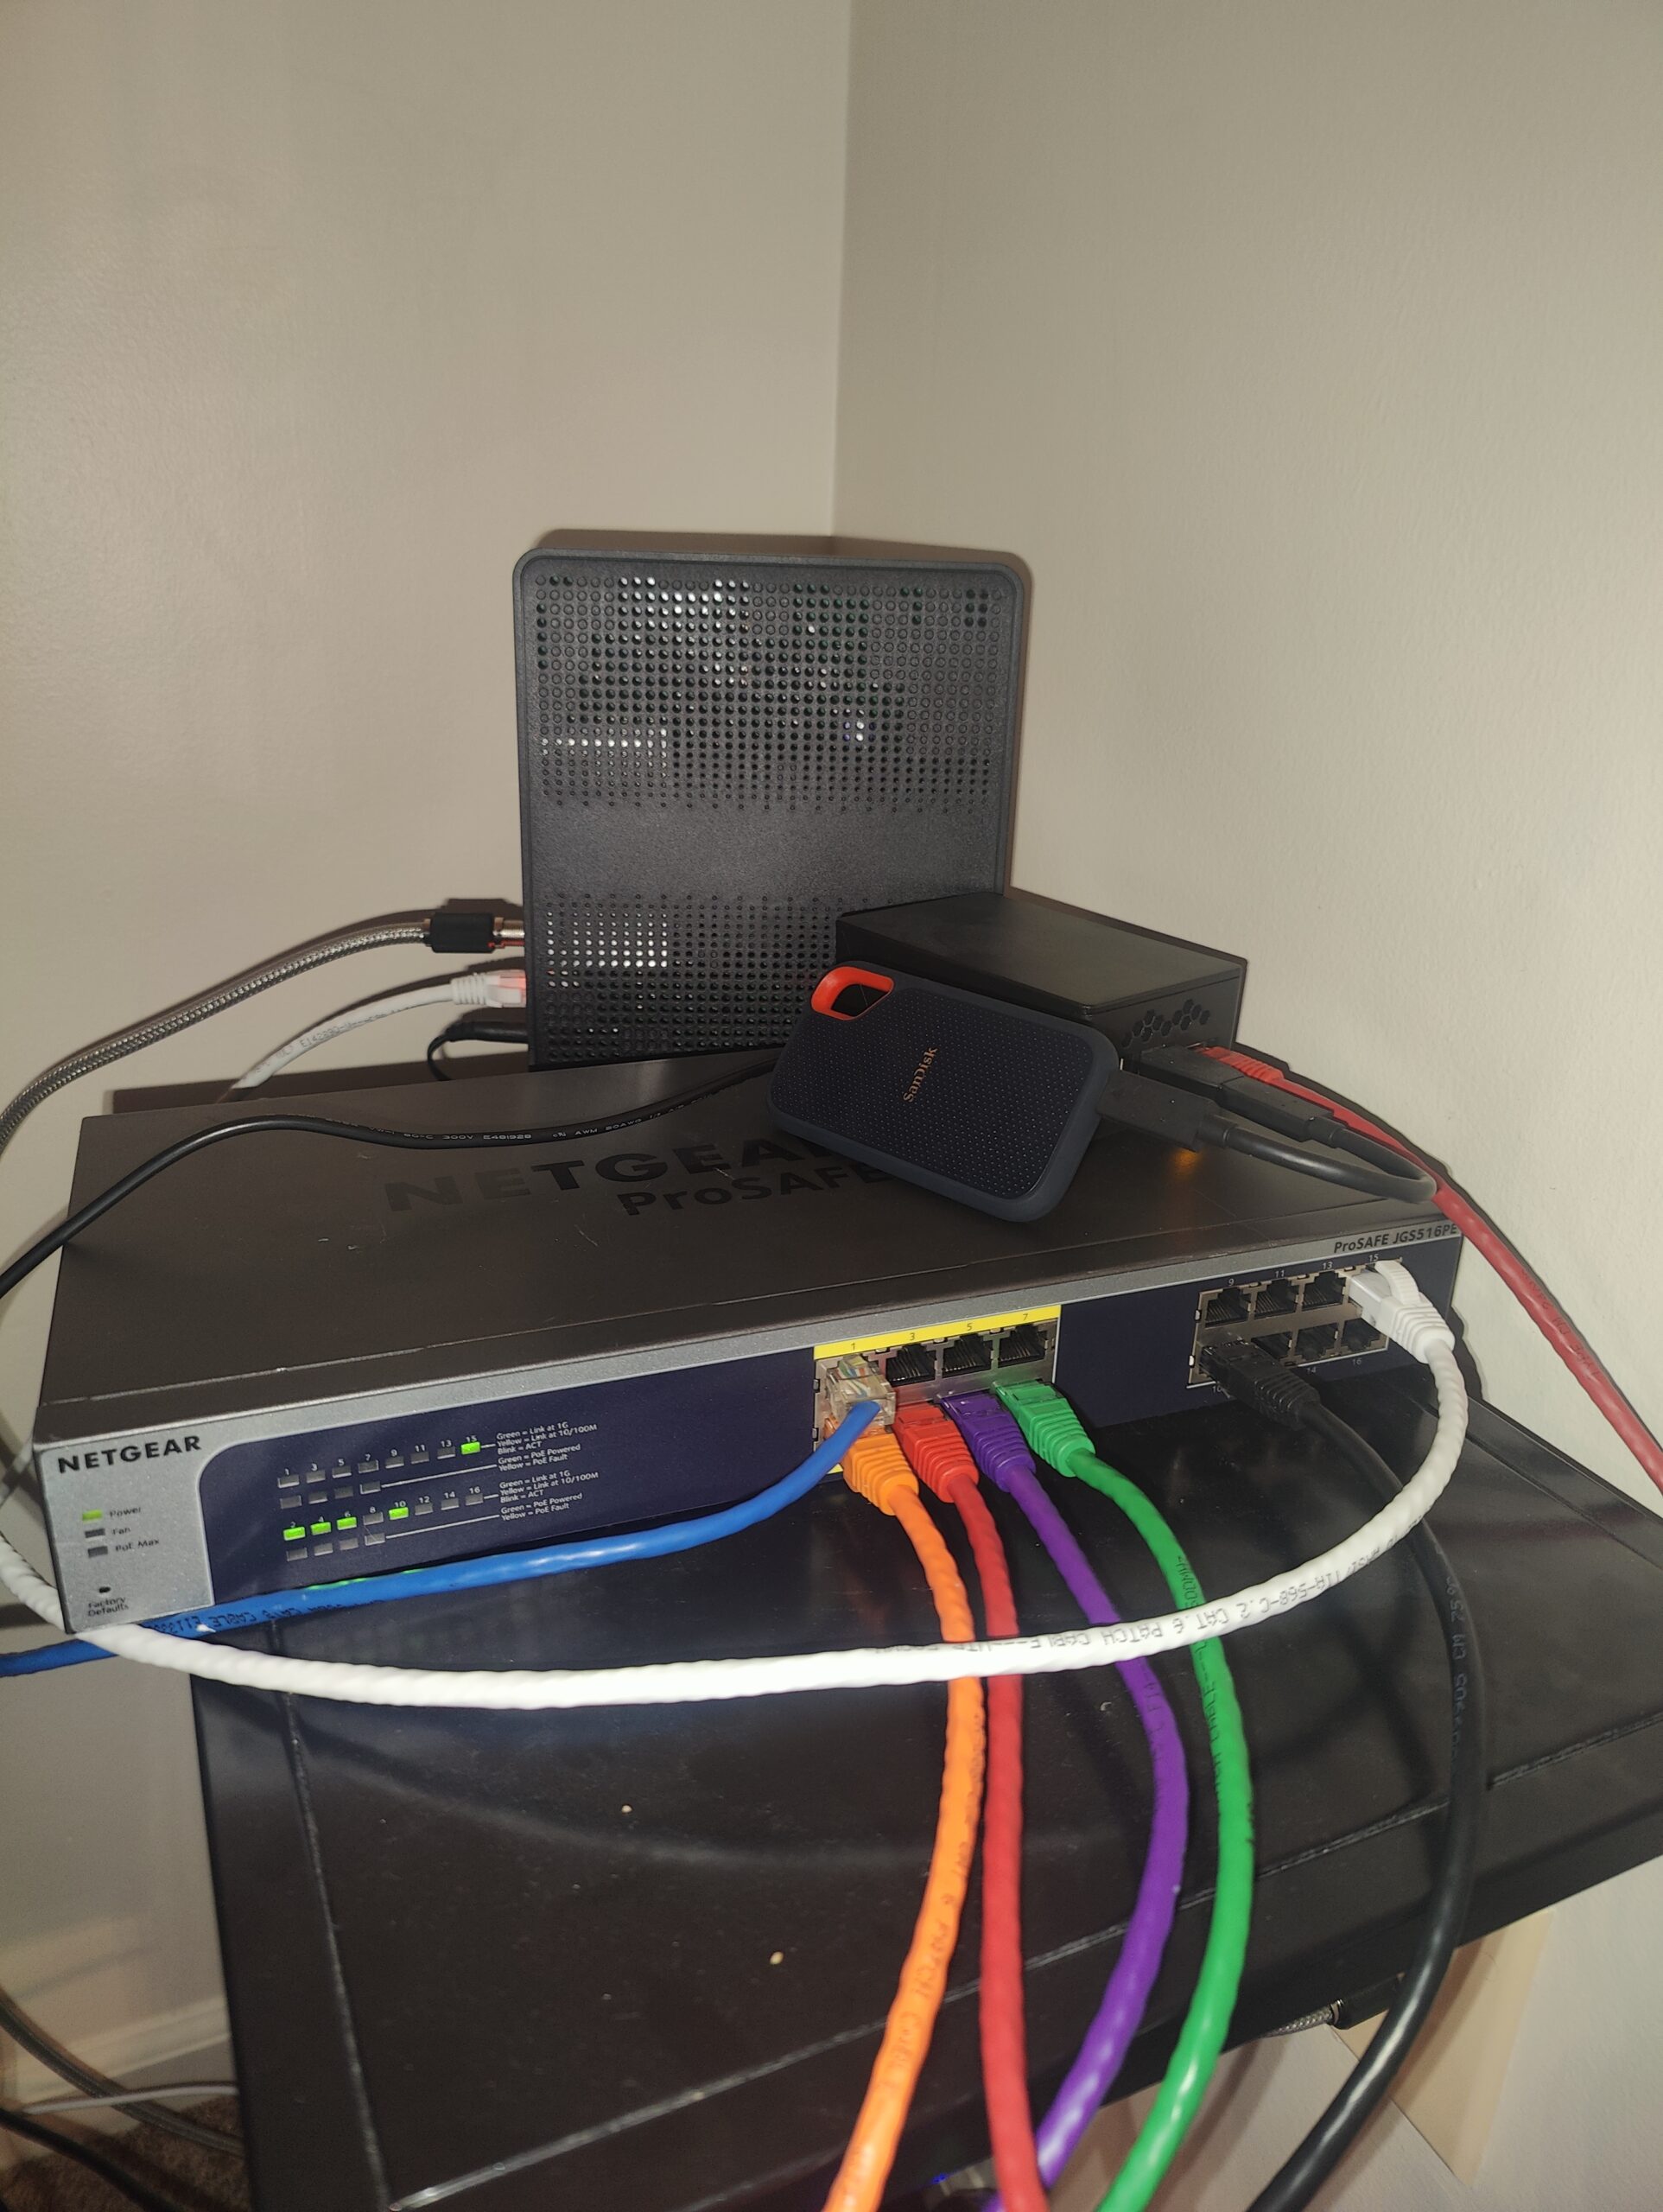
The moment the SSD for my Pi arrived, it was time to turn it into my very own NAS/home file server. Re-flashing the SD card wasn’t hard, since there’s a dedicated RasPi OS flash software. After installing the headless version of RasPi OS, I continued to install a service called Open Media Vault, which is an open-source Network Attached Storage solution. I went through the entire process of setting it up by watching a YouTube video on how to turn a Raspberry Pi into a NAS. Anyway, after installing OMV, I had to access the OMV dashboard which I accessed through typing in the IP of my Pi into a web browser and logged in with the login info I made while installing OMV. After that, I followed the steps in that video I watched, created a shared folder, and made it accessible through SMB. At this point, I tested to see if it worked by adding a network share on my main PC and it worked! The feeling I got setting something up that I wasn’t familiar with for the first time was intoxicating. Ever since, I started looking into other services I could add to my setup and make my Pi more versatile.
Remote Access/Goals
My initial goal for the NAS was to eventually replace it with Google drive and have access to my server anywhere, since I don’t want to pay for cloud storage anymore and figured this would be a good way to learn about file sharing and network protocols. I did some googling and discovered that I would be able to access it when I’m away from my network with a VPN. This is when I started researching self-hosted VPN solutions and I found an app called “Wireguard”. The VPN setup was as straightforward as using the command line on the Pi to install PiVPN and then choosing Wireguard or OpenVPN to be the VPN service. I had to establish “clients” for the service so Wireguard would know which device is which. As of right now, I’m currently writing this blog post in a word document I have saved on my NAS, connected to the server through my VPN, sitting on my lunch break at my day job. Obviously, I didn’t write this entire post on my lunch break, but thanks to my VPN setup, I can edit the Word document from my phone. I’m very proud of the setup that I have an am always looking to improve it in any way I can. Those aren’t the only purposes my Pi setup is serving.
Docker Containers
I never had any experience with Docker before recently but have been hearing about it more and more as I browsed forums for questions I would have for a setup like mine. I did some research on what Docker was and got familiar with it before installing it on the Pi itself. After doing extensive research, I discovered that I could host a “dashboard” for all the services my Pi is running and have everything in a centralized location, so I wouldn’t have to remember every single IP and port for all my services. I then started looking into “Dashy” dashboard, which is an open-source dashboard made for home lab setups like mine. Setup was straightforward, but I still had problems I was able to overcome by some google searches. After some trial and error, I finally got the dashboard to work. I stumbled upon another video and got another idea of what to make my Pi do, and that was turning it into a DNS server to have network wide adblocking. This is where I had to get my hands dirty and gave me a better understanding of how DNS works.
Pi-Hole Ad-blocking/DNS
The service that blocks ads network-wide is called “Pi-Hole” and acts as a DNS server, filtering out any host provided from a ‘block list’ and blocks that traffic from appearing on the client. It took some trial and error and a few YouTube videos, but I finally got it working. With the VPN setup, I’m able to get my mobile devices to block ads by going through the server. I just had to specify the DNS server on the VPN client configuration so it would know where to direct all traffic through it. Along with all these services I have on running on the Pi itself, I decided to investigate a Docker container management system and found “Portainer”. Which allows for easy editing, managing, and setup of different Docker containers and is also hosted inside a Docker container itself. Setting up Pihole has taught me a lot about how DNS works and how to configure a machine to point to a specific server to route its traffic through.


